Candle making has been around for thousands upon thousands of years; since 200 AD in fact, when they realised they needed to make something to see with after dark (torches would take much longer to be invented). Candle making today is a popular hobby, and they make the perfect thoughtful present for a loved one. Here’s how you can make your very own homemade candles:
Decide On Your Wax and Prepare For Melting
You can choose from many different kinds of wax; paraffin wax, soy wax, and beeswax to name a few. Here’s a bit more about each:
-
Paraffin wax – this type of wax was traditionally used in candle making all those years ago, and is still the most popular kind of wax to use today. It’s a great starter wax for beginners, as it’s quick to melt, cheap, and easily coloured and scented.
-
Soy wax – this kind of wax is becoming more popular in candle making, as it’s also very simple to use and is easy to clean up. If you’re eco friendly, this wax is the wax for you as it’s the most environmentally friendly of them all. The wax also burns slower, so the candle will last longer.
-
Beeswax – a natural wax that can actually contribute to purifying the air. However, scent and colouring with this wax is difficult as it doesn’t hold it well.
-
Why not recycle your old candles to make new ones? Half used, warped Yummi candles are perfect!
Protect Your Work Space
Working with wax can get very messy, so you should try to protect your work space as best you can. Use old newspaper and towels to protect surfaces, and have warm soapy water on hand for spills.
Create a Double Boiler for Melting
To melt the wax you’ll need to create a kind of ‘double boiler’ using a pan and then another container inside of that. This is because candle wax shouldn’t directly touch heat, as it could set on fire or evaporate. Make sure you use a pot specifically designated for melting candles as it can be hard to clean afterwards.
Shred Your Wax and Place in The Pan
Smaller chunks of wax work better than larger chunks to melt, so shred or chop your wax into smaller pieces. Now place inside of the smaller pan ready for melting, with the water in the larger pan boiling. Use a thermometer to pay attention to the temperature, they should be as follows:
-
Paraffin – between 150 and 160 degrees.
-
Soy wax – between 170 and 180 degrees.
-
Beeswax – 145 degrees.
-
Old candles – 185 degrees.
Add Scent and Colour
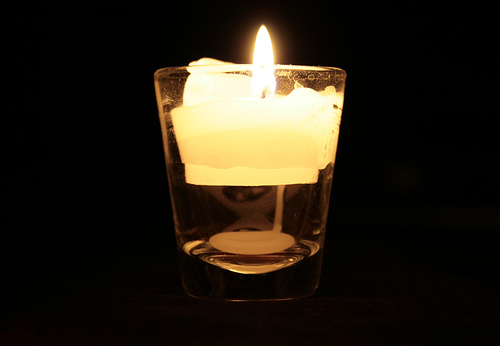
You can now add scent using whatever you like, for example; essential oils. Oil based dyes from craft stores will work well to colour your candle. Place your wick in the centre of the candle mould ready to pour in your candle. You can use pretty much anything you like for your candle (like a teacup or jar!).
Leave to Cool
Once you’ve carefully poured your wax into the mould, you’ll need to leave it to cool for around 24 hours. The longer you leave them, the better. Trim the wick if you need to.
Enjoy Your Candle!
You are now ready to enjoy your candle or give it as a gift!