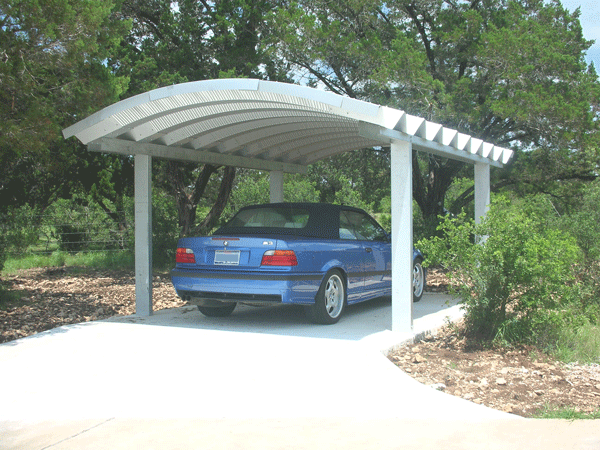
When you research carports online, the style and beauty in the designs will stagger you. Think of the most beautiful conservatory you have ever seen and, in your mind, remove the walls. That is how attractive they can be. Of course, as a DIY project, that level of detail is probably a little ambitious.
We are going to take a look at how to build a basic carport today, so that you can create a practical space to keep your car and for other things. The cost is low, and you won’t need to take out another mortgage for this project. Read on and see if it is something you could take on. The structure is big, but there isn’t all that much to it.
The Base
You will need to provide a strong base for your structure; I suggest you make it out of concrete. It is a durable material that can take the weight of heavy vehicles without damage. Here is how to make the base.
- Excavate the area to a depth of eight inches and use a vibrating plate to form the bottom of the hole.
- Shutter the outside edges of the area with wooden planks. Make them firm by backfilling around them with soil and by screwing them together at the corners.
- Put four inches of sand and hardcore in the hole and make it hard as you did the ground.
- Lay a waterproof membrane in the hole.
- Import the concrete on a truck, it is too much to mix by hand. When the truck arrives, pour it directly into the base if you have access. If not, you will have to do it with wheelbarrows.
- Sink vertical pieces of steel into the concrete wherever there will be a vertical post. You can drill the steel and fix the timber to it.
You can start work on the main structure when the base is hard. Perth carports by Patio Living come with full instructions and all the parts for assembly, but you will have to make yours. Cut the posts first. There might be four on each side. Remember to allow for drainage, so cut those on one side slightly shorter than the other.
Fix all of the posts to the steel you set into the concrete before attaching the timber beams that run the length of the carport. Mount them to the side of the posts, at the top.
Start work on the crosspieces to join the two sides next. The lengths of timber should all be the same.
When the structure is complete, use corrugated plastic sheets to make the roof. Depending on the material you use, you may have to insert some more timber to support it. You only need to use pieces of three by two for that job.
Stain the timber to make it look attractive and preserve it.
The project should only take you about three weekends to complete. You can embellish it with many extras such as lighting, guttering, or decorative trim. I think you will agree; it is one of the most satisfying DIY builds to take on because of its size and the short time it takes to finish. Build a carport; you can thank me later!


