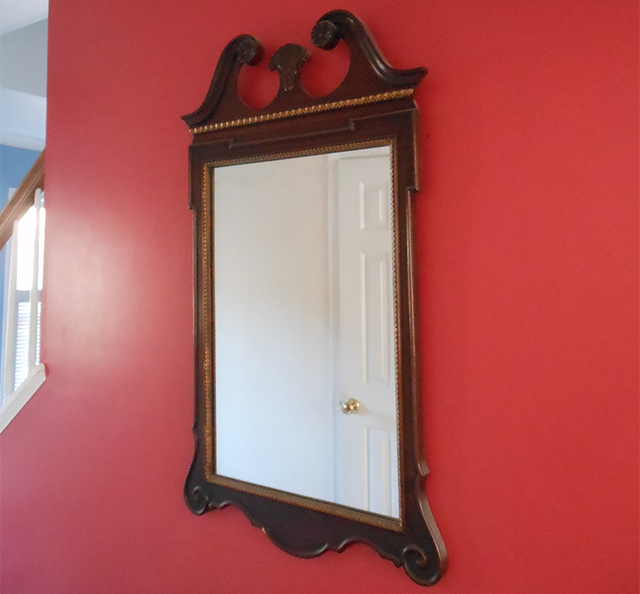
Wall mirrors provide a great decorative focal point for any room. Many people tend to use them in their hallways, their bathrooms, and even over the fireplace in their living rooms. Aside from looking great, they also serve a useful purpose too: being able to check your hair and makeup!
They come in all different shapes and sizes, which is ideal if you are looking for a wall mirror to suit the decor of your home.
If you are thinking of buying one, then you will also need to install it too! Although this task might seem somewhat daunting for those of you that have never done this before, it’s actually fairly straightforward. Here are some handy steps to help you get that mirror on the wall, where it belongs!
Things you will need
Obviously you will need the mirror itself, but you will also need some tools and materials to successfully accomplish this task. Your shopping list is as follows:
- A drill;
- Some screws and rawl plugs;
- Vacuum cleaner;
- Glass cleaner and soft cotton cloth;
- Pencil;
- Stud finder;
- Spirit level.
Step 1: find a suitable location to mount your mirror
Using the stud finder, you will need to find a suitable location to mount your mirror onto. It is worth noting that mirrors are generally quite heavy, so the last thing you want to do is mount it to a part of the wall that isn’t very strong, such as bare plasterboard.
You will need to consider how high you want the mirror to be; there is no standard for doing this, it’s just a personal preference – although other people in your household will probably want to use the mirror too, so it’s probably a good idea that it is mounted a height that most people can comfortably look at.
Step 2: offer up the mirror to the wall
The next step is to offer up the mirror to the wall and using your pencil, mark the corners of the mirror on the wall. You may need to get someone to help you with this part.
Step 3: fitting the mounting brackets
At this stage, www.aldgatehome.com recommends you take notes of the measurements on the back of the mirror as to where the mounting brackets go, and then transfer those measurements onto the wall, marking on the wall the location of the brackets.
You will then need to drill the required holes for the brackets, install the rawl plugs and then fit the brackets, making sure they are nice and tight against the wall.
Step 4: fitting the mirror
Once you’re done, it is time to fit the mirror. Again, you may need an assistant to help you as sometimes this can be a bit tricky!
Step 5: cleaning up
Now that you have installed your new wall mirror, it’s time to get the vacuum cleaner out and vacuum any loose bits of plaster that have fallen onto your floor, and then give your new mirror a clean with the glass cleaner and cotton cloth.
Photo credit: Joanna Bourne.


