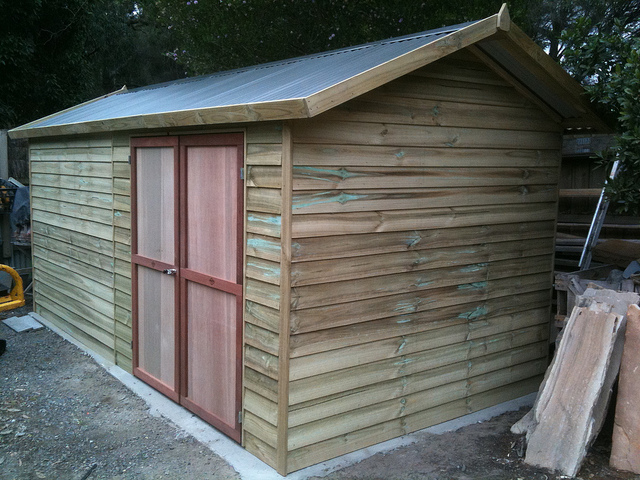
Whether you’re trying to create a really cool workshop or you just need some extra space, chances are you’ll already have spent some time thinking about the most suitable options available to you. Although you might have a large garage, it’s often not very practical to convert this into a workshop, as you’ll send noise and vibrations through the entire house. So, opting to clear a space in the garden and build you own shed could be perfect.
This guide will fill you in on everything you need to know about constructing the shed of your dreams in as little time as possible. All you need to do is choose your preferred model from a reputable shed website, and you’re ready to rock.
-
Create A Level Foundation. This is by far the most important step you’ll have to take. Failing to lay a flat and durable foundation could mean your sheds lifespan becomes considerably decreased. If you really want to make your new workshop last for the longest time possible, it might be wise to install deck piers in a grid formation to support the floor and wooden frame.
-
Lay Support Beams. Now your deck piers are in place, lay your support beams across them lengthwise. This will help to support your floor joists that will run in the opposite direction.
-
Fetch The Plywood. With the support beams and floor joists now in place, it’s time to nail down your plywood sheeting. Ensure you use at least 4 different pieces of plywood and lay them in a misaligned style, so you don’t end up with one continuous seam running down the center of your shed, as this will create weakness within the structure.
-
Build The Framework. As each wall will usually be of a slightly different size to allow for proper drainage, it’s probably a good idea to tackle them one at a time. We would advise that you build the back wall first, then the front, and the two sides last. For this you should follow the instructions provided with your shed, as the methods used will vary depending on the model you’ve chosen.
-
Build Roof Rafters. Your shed should now begin to take some sort of form. Next up, you’ll need to build rafters across the roof. These should overhang your walls slightly to allow for increased protection against weather.
-
Nail Down Plywood Sheeting. Once your roof rafters are in place, you need to repeat the method you used with the floor. Simply cut your plywood sheeting to the correct measurements and nail it down to the roof. Then all you need to do is add tarpaper and the roof is done.
-
Cover The Walls. Lastly you’ll want to cover the walls using sliding, textured plywood. This should give your shed the finished look you’re after.
So there you have it my DIY shed-building friends. That was a quick and simple step-by-step guide to constructing your very first workshop or storage unit.
Good luck with the build!


