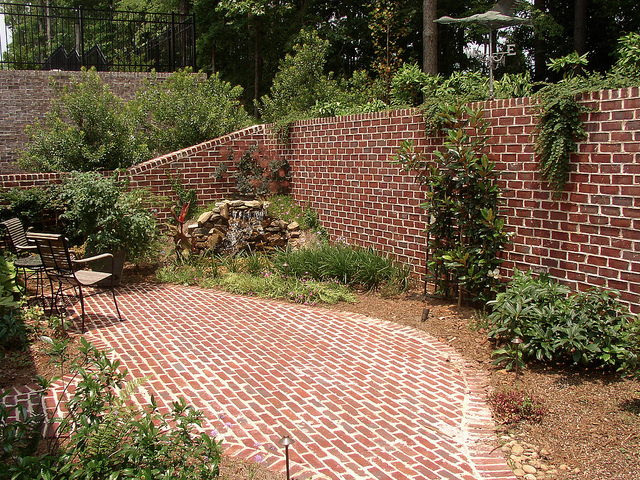
We all like to make our gardens unique and individual to our requirements, for example we might want to add a colourful mix of plants and flowers, decking by the house or some other part of the garden to sit down and relax at, and some of us might even like to cook the odd barbecue meal for friends and family.
Sometimes though, there might be occasions where we would need to construct a small wall in our garden to separate certain elements, such as the decking area I mentioned a moment ago. If you need to build a garden wall but you have never done so before, then you can relax because this handy DIY guide will tell you all you need to know!
Shopping list
First of all, you will need the following items:
- Mortar;
- Concrete;
- A supply of water (i.e. a nearby tap);
- Bricks;
- Bucket and shovel;
- Plastic sheeting;
- A sheet of plywood;
- A brick trowel;
- A spirit level and plumb line;
- A club hammer and bolster chisel;
- A bricklayer’s line and pegs.
Digging a trench and preparing the foundation
Once you have assembled your shopping list of goodies, the first thing you will need to do is grab your shovel and dig!
All garden walls need a firm foundation, so if you are building a single-brick low garden wall that is going to be around 450 mm high, you will need to dig about 300 mm wide and 300 mm deep. Note that if the soil is too soft or unstable, you will probably have to dig even deeper.
Once you have dug your trench, the next step is to add concrete to it. You can use bags of pre-mixed concrete, or you can make it up yourself using one part cement to six parts of ballast (sand and gravel). Once your concrete is ready, pour it into the trench and push down firmly on it using a wooden post; this gets rid of any air pockets and levels out the surface.
Drying the concrete
You will now need to get your plastic sheet and cover the trench so that the concrete can dry or “cure” for about 3 or 4 days until it is hard.
Preparing the mortar
Grab your piece of plywood and lay it down on the ground. Mix the mortar on the board, using your spade to mix it together in a “chopping” fashion. Keep mixing until the mortar is a consistent colour and it is strong enough that you can balance your spade in the middle of it without the spade falling over.
Laying the bricks
Now it’s time to lay the bricks! Start by putting a brick down at each end of your wall (don’t put any mortar just yet) and then setting up your plumb line at either end, on the top of the bricks.
At this point you can start using mortar on your bricks (either with your brick trowel or with a mortar gun) and start to build your wall!


