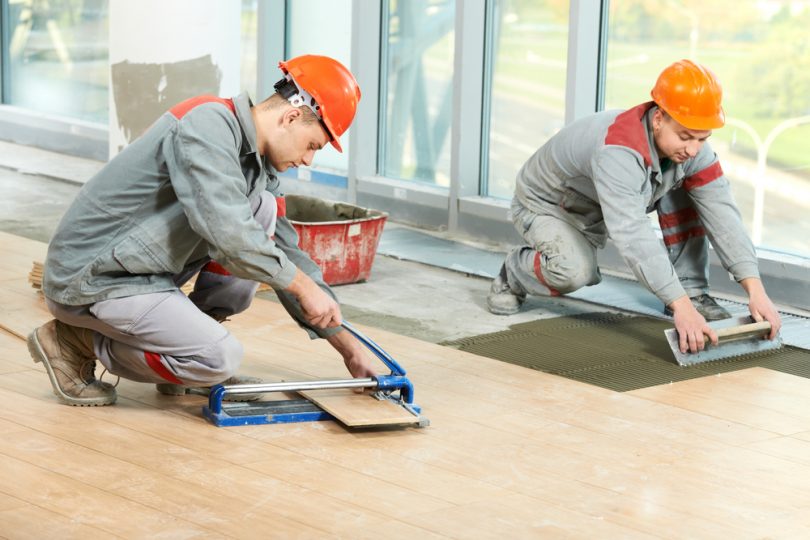
Installing your own floor tiles is a DIY job that can make a huge difference to the look and feel of your home. But – if it’s your first time laying your own floor tiles – it can seem like an overwhelming task. This simple guide will help you avoid the common pitfalls of DIY tile installation, so that your home renovation will look entirely professional.
What do you need for DIY floor tile installation?
- Floor tiles
- Adhesive
- Grout
- Sealant
- Gauging trowel
- Notch trowel
- Spirit level (optional)
- Tile spacers
- Grout float
- Grout finisher
A step-by-step guide to laying your floor tiles
Read our easy to follow guide to completely understand the tiling process and achieve a professional finish.
1. Prepare your surface
You may be laying your tiles over an existing surface, such as previous tiles, concrete or vinyl. If you are, make sure that the existing surface is as clean and smooth as possible. If there are stubborn imperfections, that can’t be removed with simple cleaning, you may be able to smooth them with a waterproof patching compound. You can install tiles over existing wooden floors, as long as the subfloor is at least 1.5 inches deep. Don’t worry if your existing surface isn’t quite that deep. You can use a concrete backer board, available in ¼ and ½ thickness, to make up the depth.
Be sure to remove all debris, grease and oil from the underlay by thoroughly cleaning the surface.
2. Laying your adhesive
Once your surface has been prepared, you are ready to begin installing your floor tiles. It is important to read the adhesive instructions for your specific tiles as these can vary based on size, material and shape. Starting from a central point in the room, use a gauging trowel to place adhesive to your floor. Then take the notch trowel and spread evenly across an area of 1m². The key to ensuring an even layer of adhesive is to first use the smooth side of your notching trowel to cover the 1m² area. You should then take the serrated side of the tool and spread the adhesive in the reverse direction, forming ridges.
3. Installing your tiles
Install your first tile at the central point, using a twisting motion to ensure that it is firmly embedded. Repeat this process, using tile spacers at the corner of each tile, and work outward. Remember to press the spacers below the surface of your tile so that they can be easily concealed with grout. When laying your tiles, you may want to use a spirit level to ensure that your tiles are perfectly flat. If any of the tiles aren’t level, gently even them out with a rubber mallet. To fill in the space between the tiles and the wall, you may need to cut tiles. Once you’re happy with the surface, remove any adhesive from the tile surfaces with a wet sponge. It’s important to clean any adhesive stains before they set.
Leave the surface for up to 48 hours to allow the adhesive to completely set. If you’re laying kitchen or bathroom tiles, you may want to tile half a floor at a time so that the room is still accessible.
4. Grouting your floor tiles
Your tiled surface is now ready for grouting. Before you begin, remove any dust or debris from the surface and ensure no spacers are sticking up. Use the gauging trowel to apply the grout to the spaces between tiles. You should work it using the grout float to evenly fill the spaces. Grout several rows at a time and smooth the corners between tiles every so often with a grout finisher. Clean any extra grout on the surface of your tiles as you go. After you’ve finished grouting the floor, leave the grout to set. This can take up to 24 hours but does vary depending on the type of grout you are using.
5. Applying a sealant
Once the grout is set, you’re on to the final step of laying your floor tiles. Remove any debris from the grout with a damp cloth before applying your sealant. Use a flexible sealant that matches the colour of your grout. Work from one side of the room to the other, using even pressure as you go. To avoid mess, we recommend using masking tape on the tile edges when applying the sealant. If possible, avoid using the floor for 24 hours to allow the sealant to dry.
Once you’ve applied your sealant, your work is done. You should now have a tiled floor with a professional looking finish.


