At this time of year many UK citizens decide that giving their garden a bit of a makeover in time for Christmas is at the top of their priority list. Though some will simply mow the lawn and plant some evergreen trees, others are slightly more ambitious and feel that creating cool, innovative artwork and sculptures is the way forward. This might seem like an almost impossible task for those without immense creativity built into their personalities, but in truth, moulding and erecting steel garden sculptures couldn’t be easier. All you need is the right information and tools to complete the job and produce stunning results in no time.
How do I know this? Well, I used to dabble in this sort of thing from time to time during a period of unemployment a few years ago, and since then I’ve been keeping a close eye on all the latest methods and techniques. So, I feel more than confident enough to advise you on how is best to move forward with your idea. With that in mind, take a moment to read through the rest of this guide and see if you can learn a thing or two.
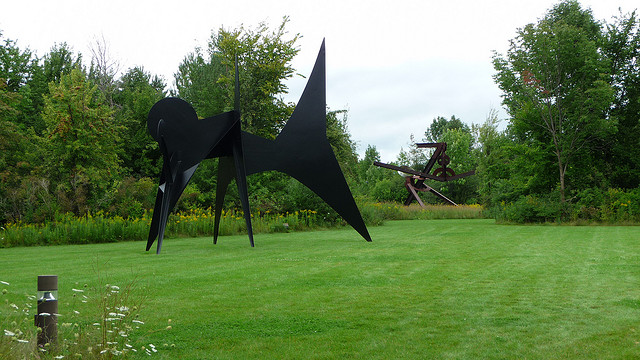
Step 1 – Deciding On The Subject Matter
Before you do anything else, it’s important that you first create a design from which you’ll work. This could be an object, animal, person or anything else you can think of – the possibilities are endless. Spend some time searching online for images and when you find something suitable, draw the design out 3 times (from the top, side, and front), that way, you should have some idea about how the finished piece will look.
Step 2 – Gathering Tools & Materials
Depending on exactly how your sculpture will be constructed, you’ll probably need to pick up a slightly varied list of tools. However, you’ll definitely need a welder, a chipping hammer, an angle grinder, tinsnips and an oxygen/acetylene set. Once these have been obtained you’re free to source your materials. I’d advise you ask local businesses who deal with the recycling of scrap metal to help you achieve this – seamless steel tube usually works well.
Step 3 – Cutting Materials & Welding
Now you need to mark out the different pieces and cut your materials accordingly using either the tinsnips or oxygen/acetylene set, just be careful not to burn yourself. Once this is completed, you’re seconds must be welded together in their allotted positions – again, be very careful when doing this as even the most talented people receive injuries from time to time when dealing with heat guns.
Step 4 – Creating The Base
Having a welded together piece of steel art is brilliant, but it won’t stay in position for long without a strong and sturdy base. Depending on the size and shape of your sculpture, the base will need to be designed to ensure it doesn’t move or fall over. The exact measurements will be down to your own judgement, but the base must weigh at least equally against the main sculpture. That way, it should support the weight without any issues.
Step 5 – Finishing Off
Finally, now your sculpture and base are both complete, all you need to do is weld them together. This is usually more easily said than done, so you might want to enlist the help of some friends, family members or neighbours to ensure you can lift the objects into the position you want them to sit.
Well, there you have it guys. I hope now you’ll be inspired to create something seriously cool and memorable in your garden – this is a DIYers dream.