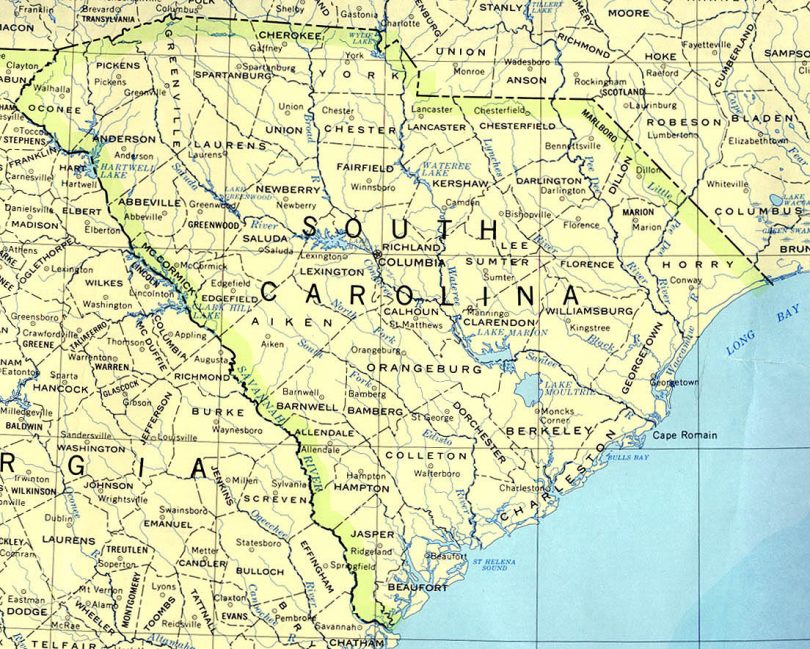
There are a number of reasons why everyone should learn some basic map reading skills, not the least of which is ensuring that they are able to safely reach their intended destination(s). Let’s face the facts; getting lost is not only an extremely stressful situation to be caught up in, it can also be quite dangerous as well. After reading through this little primer, you’ll hopefully know enough about basic map reading to avoid most problems associated with traveling.
First off, you’re going to want to identify what type of map suits your needs. If, for example, you’re taking a little holiday trip across the expanse of your particular nation, something akin to a road atlas should be sufficient enough for your purposes. Similarly, if you’re looking at setting foot into wilderness territories, it’s probably a good idea to have a series of topographical maps of the region on hand. Furthermore, don’t forget about extremely handy online sources like Google maps, if you have a steady source of power these are arguably the most useful and thorough of any available maps / tools out there. Additionally, you’ll want to choose a map that has the correct scale for your particular needs; for ‘on foot’ uses this should be listed as 1:25,000, and for ‘driving’ it should be 1:190,000.
Once you have the right map(s), it’s time to figure out the basic orientation of your map(s). Obviously, if you’re dealing with a digital database, your map will already be positioned so that north is pointing upwards. However, if it is a paper map (not a book), you will want to make sure that you’ve identified the printed compass (which should look like a star [called a compass rose] with a big N on top of it). To check distances, look for a little scale, it’s usually in the bottom left-hand corner. You can either use a finger or a ruler to measure out distances.
If you’re going to be traveling a long distance it might be necessary to take not of latitude / longitude coordinates. Also, knowing the lat. / long. will allow you to possibly plot out quicker routes, and allow you to more closely track your approximate location at any given time.
Next, take a look at the legend, which is usually in some type of box. The legend will not only contain symbols which represent notable landmarks or resources, it might also indicate potential signs hazards or facilities like hospitals. Likewise, most legends will allow you to identify certain types of roads, which can greatly enhance your efficiency on the road.
Once you’ve gotten a handle of how things are laid out on your map, it’s time to begin plotting out your pathway(s). The first step in this process is of course to identify where you are and then where you ultimately want to end up. Naturally, if you only have one solitary destination in mind, this step only requires you to connect two distinct points. However, if this little trip of yours involves multiple stops / destinations, it might take a while to determine the best course or direction. You can use either a highlighter, pen or pencil at this point (if you like) to physically illuminate your path; conversely, you might also simply write your turns, highway directions, exit numbers, etc…on another sheet of paper too.
If you’re new to traveling or don’t feel very confident in your abilities / experience as a explorer / tourist, try to avoid going too far “off the path” or deviating from the safety of main roads. Additionally, if you wear glasses or have difficultly reading the fine print of your map(s) remember to either bring your eyewear on the trip or perhaps pack a magnifying glass.
Good luck and have a great time!


