
If your bath is starting to look a little dull and tired, you don’t have to buy a new one. But it might be time to resurface it.
Find the Materials
The main materials you’ll need to resurface the bathtub is caulk, abrasive cleaner and epoxy. These materials are all pretty easy to come by. Just visit your local DIY store and you’ll find them in there quite cheaply. Alternatively, you could use a resurfacing kit, more info can be found online.
Then there are the tools to think about. You’ll need sandpaper (roughly 600-grit and another at 400-grit), a paint brush, a paint roller and an abrasive pad. These tools are all relatively cheap too, and you might already have some of them in your garden shed.
Prepare the Bathtub
All bathtubs are different, so what you do to prepare them will depend on the condition yours is in. But the first thing you should do is give it a thorough clean. Use the abrasive cleaner you bought to do this because it needs to be completely clean.
If there are any anti-slip pads or strips in the bath, you’ll need to remove these before you can move onto the next step. This isn’t an easy thing to do because they’ll be attached very firmly. Scrub them hard and use the abrasive pad to finish it off once they’re removed.
Sand it Down
Once the bath is clean, you can start to sand the bath down. You can start with the 400-grit sandpaper and then move onto the 600-grit sandpaper afterwards. You should wet the sandpaper before using it though.
There are a couple of reasons why it’s a good idea to sand down the bath. Firstly, you’ll be getting rid of any remnants of dirt on the surface. It’ll also make it a lot easier to get an even coat of paint on the tub when you move to the next step.
Paint It
You need to mix the paint with the epoxy and then begin to paint the bath. You can start with the brush first and then do the second coat with the roller. You’ll notice that there are bubbles on the surface as you paint, but these will disappear as it dries so don’t worry.
Remember to only paint in one direction to create a neat finish. Then, when you’ve added a couple of coats of the paint and epoxy mixture, you’ll need to leave it to set. That will usually take 2 or 3 days. So, it’s best to leave it until you’re sure that it has set.
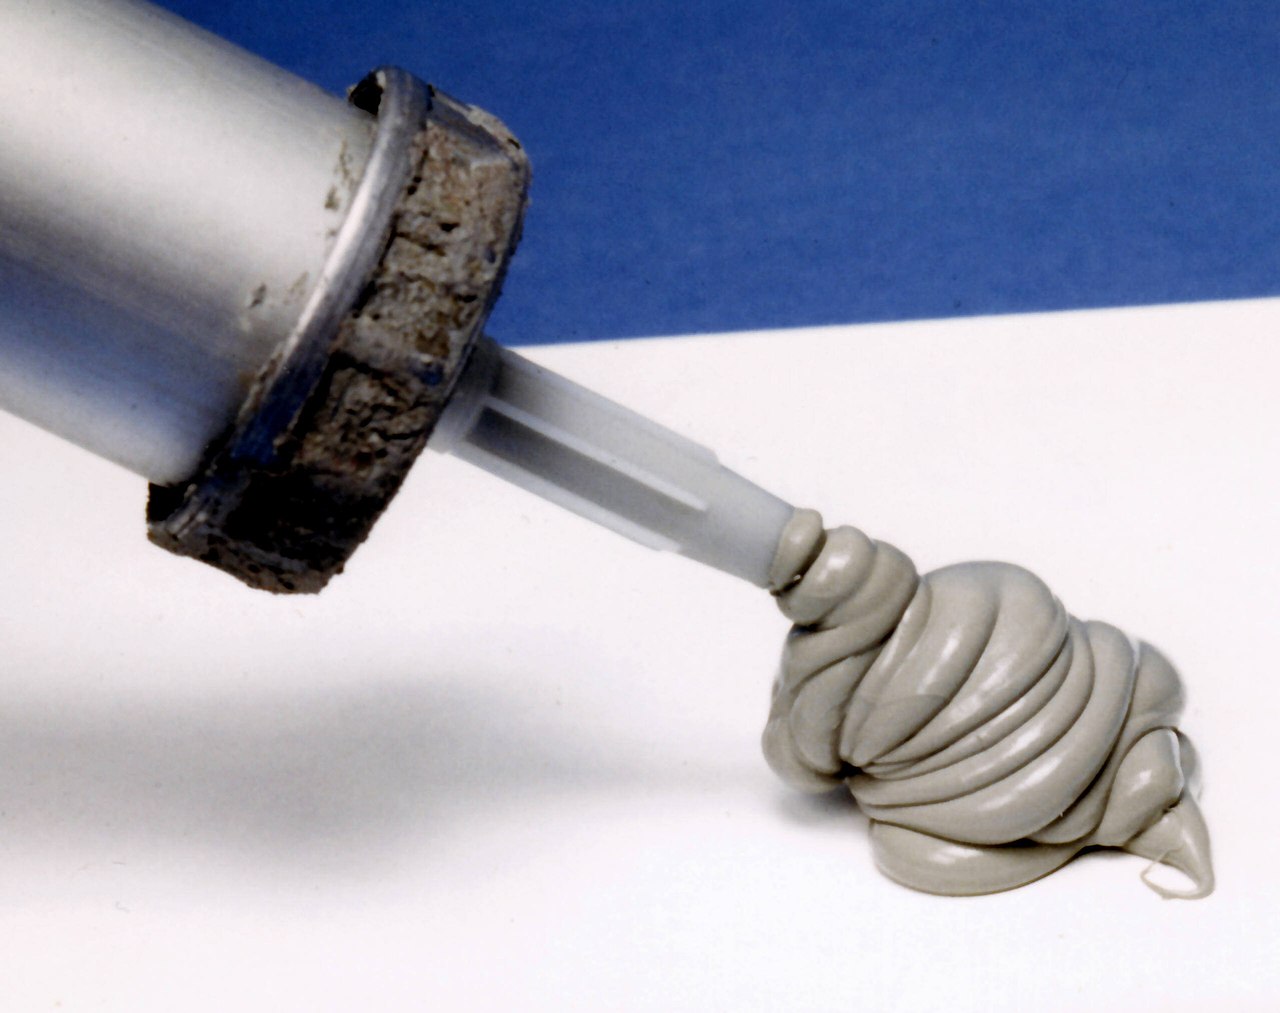
Caulk Where Necessary
The final step in the process is to do the caulking. You should do this wherever it needs doing, and that’ll be different from each bathtub. You’ll find that the most common area that need caulking are the corners and joints that are often put under strain when the bath is in use.

Once you’ve completed the caulking and the paint has set, the job is finally done. Now, you can start to use your newly resurfaced bath, so enjoy it!


