Breaking your favourite porcelain vase sounds like a nightmare to anybody who takes pride in their home and decor. However, although your vase may be in many pieces at the moment, you could repair it yourself fairly simply! All you need is a steady hand, and a little patience to repair your vase. Let’s begin…
Gather Every Piece of Your Vase
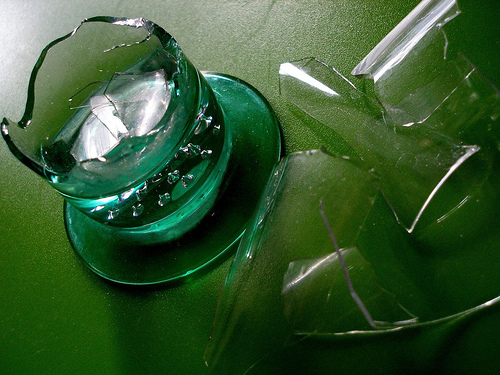
Your vase is probably in tiny pieces at the moment, or bigger pieces if you’re lucky. To begin, you need to gather together every single piece of your vase, no matter how small it may be. You’ll then want to wipe the floor with a wet cloth to make sure no tiny bits get stuck in your foot. Put in a safe place until you’re ready to get started.
Prepare Your Equipment
You’ll need a few bits and bobs ready before you start putting your vase back together. Make sure you have:
-
A damp towel across a flat surface.
-
A bottle of glue that dries clear.
-
Good lighting.
-
A quiet space to work in.
-
A few paper towels.
-
Glass cleaner.
-
Gloves.
Begin Putting Your Vase Back Together
1. Wearing your gloves for protection, remove the shards from your safe place. Lay out over your damp towel. The reason your towel is damp rather than dry is so you can wipe your hand on it as you go, plus; your pieces will stay still.
2. Try to arrange the pieces so they’re on a different section of the towel, for example; the bottom of the vase in one corner, while the sides are in another, etc. Try to visualise the pieces as a whole so you can get a better idea of how you’ll put the vase back together.
3. Before gluing your pieces back together, practice first! The key to success is practice, and if you don’t practice it’s highly likely that you’ll mess up. You’ll also be able to work out whether there are any more pieces missing at this point.
4. Now it’s time to glue. Remember, a little bit of glue goes a long way! Go slowly, applying slight pressure as you line the piece you’ve chosen with glue. To make it easier, glue the smaller pieces together first, and then the larger pieces afterwards. You can then glue smaller pieces that you’ve already glued to other smaller pieces, rather than trying to stick them all together at once.
5. Make sure you’re checking that the pieces are aligned smoothly, and wiping any excess glue off as you go along to avoid problems later on. Once you’re done, use windex on a paper towel to wipe over the vase carefully. Allow 24 hours at least before using your repaired vase!
If this all sounds like too much for you, you could contact a professional like Emma Bradshaw to do the hard work for you. However, you might want to give it a go yourself first to save money – you could even get a great sense of achievement!