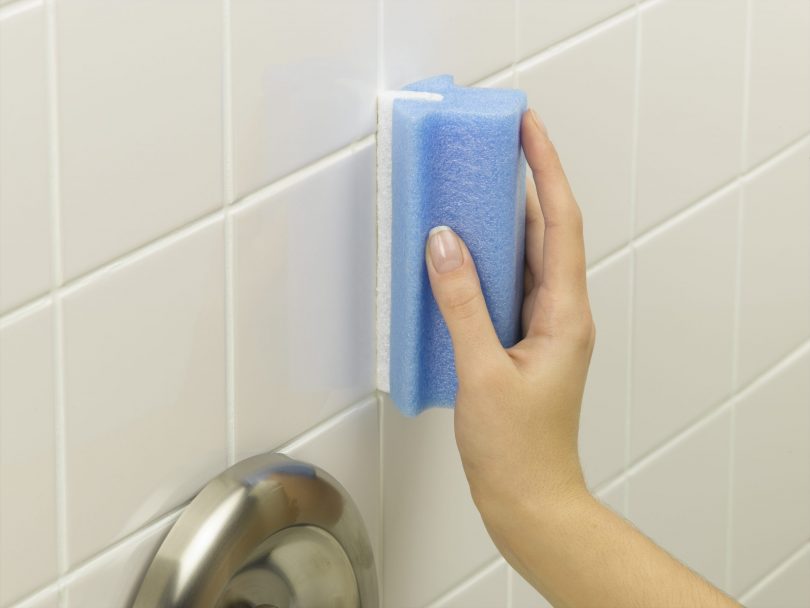
Grout is essential for ensuring that tubs and tiles are both secure as well as water-tight. In order to keep your grout looking great however, you’ll need to clean it once in a while. While this might seem like a fairly straightforward task there are actually a few methods of approach that one needs to consider. The goal of course is to clean the grout in the most sensible and economic manner possible, utilizing as little effort as possible and subjecting the grout and surfaces to as little wear and tear as possible. Similarly, you might find that your grout has weakened, was installed improperly or become compromised in some way, shape or form. If this is the case, you have no other choice but to remove it. We’ll also cover some tips for removing grout as well for those who might have found themselves in just such a situation.
First off, let’s look at cleaning grout. What you’ll need:
- A Household cleaner that’s safe to use on tiles / tubs
- (optional) Baking soda
- Bleach
- A heavy duty scrub brush (consider purchasing 2 of them – one with large bristles and one with smaller bristles)
If you’re the type of person who is very environmentally conscious, you might want to consider starting out by using baking soda. Baking soda, otherwise known as Sodium Bicarbonate, is a natural disinfectant and deodorant, and its use can be traced back to the ancient Egyptians! The benefit of using baking soda is that it is non-toxic, which might be especially preferable for those who have children or pets. It’s also important that you not wait to clean your grout, because it’s infinitely easier to it after a few weeks of use, but much harder (or in some cases, impossible) to deal with grout that’s ingrained with months of mold and mildew.
The Baking Soda technique
Start off by simply mixing some of the baking soda with water. You’re trying to form a slightly viscous paste that you can squirt onto your scrub brush. Once you’ve done that, attack the molded / mildewed grout with circular strokes until you begin to see the color change back to its pristine state. Naturally, due to the fact that baking soda isn’t a harsh cleansing agent, it might take quite a while longer to get the job done. If you find that there are still affected spots or you’re thinking that the baking soda approach is taking too long, you might want to move on to chemicals and cleaners.
Using Chemicals and Cleaners
Nearly any household cleaner that’s designed to deal with mold, mildew or soap scum will be sufficient for cleaning grout. As previously stated, just make sure that it’s safe to use on your tiles. Spray or squirt the chemical cleaning agent in one area and viciously scrub it in a circular motion until you begin to see results. As a last step, you might want to consider spraying some bleach onto your grout in order to completely destroy and purge any bacteria (which will make it harder for it to grow back).
Removing grout?
Get your hands on the following tools:
- Chisel
- Sulfumic or muratic acid
- (optional) Plastic scraping device
Start off by attempting to simply scrape away the grout with your chisel (or similar scraping apparatus). Be mindful of the angle in which you are scraping, so as to not damage your tile or tube surfaces. If you’re having problems, use the Sulfumic or muratic acid to soften up the grout (follow the instructions). If you have mostly removed the grout at this point you might want to switch over to a plastic scraping tool in order to prevent further damage to your surfaces. Once all of the grout has been removed, gently splash it with water to clear away the debris and then let it dry.


