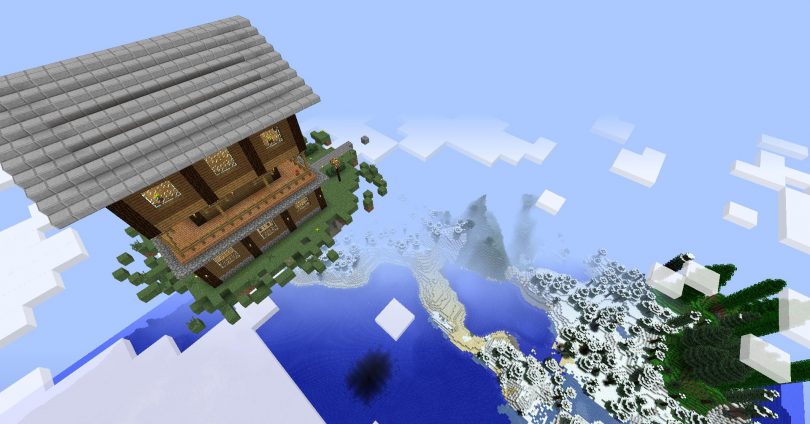
Blocky and featuring its own unique, decidedly low-res style, “Minecraft” has more or less taken the video game world by storm. A truly international sensation, Markus “Notch” Persson created the charming sandbox title, which was formally released in 2011. Since that time, the game has moved over to other platforms like the Xbox 360 to great success. To gain a greater understanding of just how widespread of an impact this relatively unimposing title has had, check out this story concerning an upcoming film which melds live action with Minecraft-esque CG.
Anyway, without getting too far off-base here, the actual purpose of this article is to show you how to host you own Minecraft server (in as few steps as possible). Alright let’s get started, shall we?
OK, before we go any further you need to realize that there are in fact individuals out there (some of which run popular Youtube channels) which engage in Minecraft “griefing”. IN essence, this means that they will hack into your server and proceed to wreak havoc on your creations, so be sure you are familiar with the following before deciding to host a popular server:
-
Networking in general (IP, DHCP, ports etc.)
-
Your router configuration
-
Your network configuration
-
Your system configuration
These are very basic things, but are vitally important nonetheless.
First off you want to download the server software. Next, update your Java (simply go to their homepage or type “update java” into google). You’re going to want to place your server software in a specific folder, like ? C:/MinecraftServer.
Following this it’s time to go ahead and run the server package by clicking on its .exe file. You might encounter a few messages, but don’t worry, any corrections will be made and eventually a line of text will be displayed which says “done”. Following that, type “stop” into the text field and hit return.
At this point all you have to do is configure your server, which for many will be a learning process or a labor of love. In any case, you’ll need to find a file called “server” which is a properties file and open it with notepad (right click, then edit). Inside you’ll find a list of values, you can alter them to change the rules associated with your server’s world. It’s highly recommended that first time users simply stick to the default settings and add to their knowledge base over time.
Likewise, you should consider keeping your server’s participants limited to trustworthy friends at first, at least until you’re able to really figure out what you’re doing and how to better protect yourself. Open up a file called “white-list”, add your username and those of your friends under it, for example.


