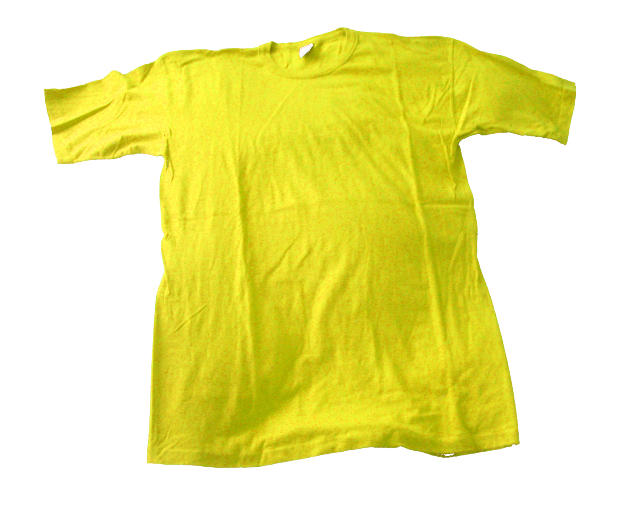
Customising T-shirts is a fun and creative way to express our personalities and jazz up old clothes. It’s much easier than you think to design your own t-shirt, so why not give it a go? Liven up your old wardrobe with this guide on how to make your own T shirts:
1. Choose an image that you’d like on your T-shirt. This image is going to be made into a stencil, so letters that are easily cut out and a simple shaped image is best. Stencil style lettering is good for DIY T-shirts!
2. Open your image in a word document in landscape mode by going to page setup. Having your image in landscape mode will allow you to make your letters and image bigger than if it were in standard portrait mode.
3. Print out your stencils. Try to print out your stencil on a thicker paper such as Card Stock, otherwise you might find your paper will curl up as soon as the paint touches it, ruining your work. You’ll also be able to reuse the stencil if printed on a thicker type of paper.
4. Use a regular crafting knife to cut out the letters and image from your paper. Scissors will not work and will ruin your stencil! Try to keep your lines straight, turning the paper as you need to. You may even need to turn your hand and the paper together at some points. Curved parts of images are much harder so make sure you really take your time when carving out your stencil. You can then poke out the letters and shapes that you’ve carved and you should have your stencil ready to use. Stick masking tape around the edges to keep the stencil still while you paint.
5. Now it’s the time to paint your T-shirt. Remember the key is to use just enough paint, too much can cause the image to leak and bleed. Latex or textile paint is best for projects such as this.
6. Use an ironing board covered with some sort of protection to separate the front and back of your T-shirt to make sure no paint bleeds through. Instead of painting your T-shirt with strokes, use dabbing and stabbing motions to fill in the stencil.
7. Carefully peel off the stencil once you’ve given it a short while to set. Your T-shirt will then need to be left alone on the ironing board for around 20 minutes before you can hang it on a hanger. After a couple of hours your T-shirt should be ready to wear!
8. If you feel you are a bit of an artist, why not forget the stencil and paint your very own design onto your T-shirt free hand? You’ll have a one off, bespoke design that nobody else has, with the satisfaction of knowing you made it yourself.
9. There are plenty of other ways you can get creative with T-shirts, including iron on stickers, studs, diamantes, badges and even Tie-dye techniques using Dylon fabric dye.
10. If you like your t shirt and other people like it, why not consider talking to a bulk t shirt printing company, who will be able to give you a quote on printing many of your t shirt designs. Heck, you could start your own t shirt business… you never know 🙂


