The glue gun is a really useful tool to have in any home. It has a range of benefits, you can quickly glue things together with minimal mess, funky smells and hardly any effort at all. You can use a glue gun for a range of tasks, for example DIY projects and craft projects. To get started all you need is a glue gun and a glue stick. Now you can learn about how to use a glue gun safely:
Step 1
Find somewhere you can plug the glue gun in, preferably in an area that is safe near no flammable objects. Be aware that the glue gun will start to heat up, and as it does so you could find that a bit of glue drips from the end. This means you’ll want to keep the gun away from anything you don’t want to get gluey such as wood tables, carpets, and other surfaces. Use adequate protection such as newspaper when using a glue gun!
Step 2
Now you’ll need to carefully insert the glue into the glue gun. This is done through a round chamber found at the back of the gun, but the gun may already have glue in it. If you find it does already contain glue, keep your other glue stick nearby just incase you run out at a crucial moment.
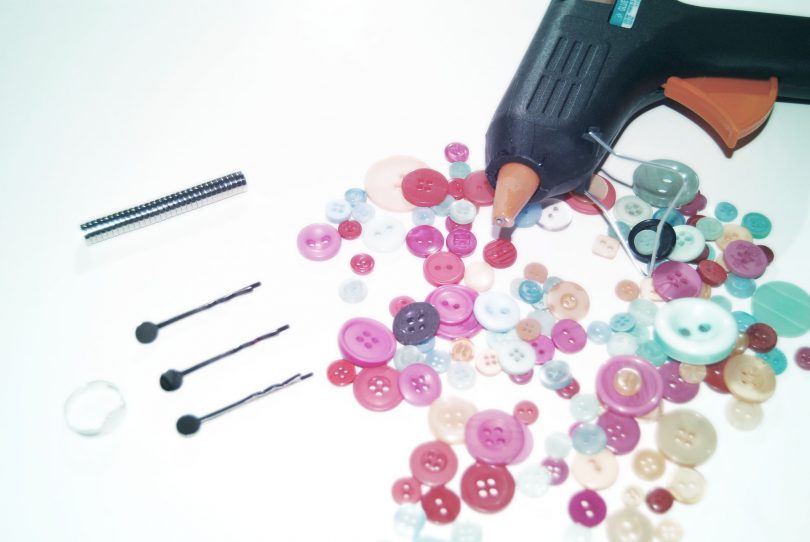
Step 3
Prepare everything you want to glue together. Bear in mind that because a glue gun can leave thick residue, you may not want to use it with ceramic items, fabric or thin paper. It does however, work well on a variety of other materials such as thick fabrics, dried flowers, wood and plastic.
Step 4
You need to make sure the glue has adequately melted, so squeeze the trigger ever so slightly and use something you don’t need to a piece of scrap paper or something similar. If you find that the glue comes out with no problem, then it’s ready to use. If you find the trigger is a bit stiff, then wait a little while longer the gun to heat up the glue properly.
Step 5
Once you’ve tested the glue again and you know it’s ready, you can begin to glue your items. Get the item to be glued first and gently pull the trigger while you make a thin line of glue on the side of the item you want glued. Now grab the item you want to be glued to the first item, and press it firmly to the glue line.
Step 6
You may need to wait about 15 seconds for the glue to dry enough for you to let go. Take away one hand or a bit of pressure to see whether the items are ready to be left. If they are ready, leave for a couple of minutes so the glue can set completely. If they are not ready, carry on holding them together until they are.
You can use your fingernail to get rid of any pesky excess glue, but if there’s quite a bit you can simply pop the finished item in the freezer for a short while. The glue will freeze and become easy to remove!