Designers of contemporary gardens often try to avoid natural features and create highly organised, geometrical gardens instead. Raised garden ponds are common features found in the best gardens, where expensive koi carp swim in the crystal clear, filtered water. They are suitable for people with reduced mobility who cannot get down to scoop debris or dead fish out of the water. Just as with raised flower beds, they are easier to maintain.
If you are about to build your own raised pond, I hope you find this article useful. It isn’t rocket science, but there are a few things you should be aware of when making plans.
Foundations
- Mark the outside edge of the pond on the ground using string and pegs.
- Dig the soil out to a depth of fifteen centimeters and cart it away.
- Line the edges of the hole will wooden planks.
- Lay a water resistant membrane in the hole.
- Hire a cement mixer to make the concrete for the base. Use a mix of one part cement, one part gravel, and two parts sharp sand. Pour it into the hole until it is level with the ground.
Leave the concrete to set for a couple of days before proceeding.
Walls
Use a mortar mix calculator to determine how much material you will need for the brickwork. Take your time building the walls because they will be on view and poor workmanship will spoil the finished project.
- Make the mortar with one part cement and five parts building sand.
- Put a bed of mortar on the concrete and start laying the bricks. Use a string line to keep it perfectly straight.
- If you find that the bricks are porous and they suck all of the moisture from the mortar, dunk each one in a bucket of water before laying it. That is a top tip.
- Use an angle grinder with a stone cutting disc to cut the brick neatly where required.
- Continue laying the bricks until you reach the required height, making sure they are level regularly.
The Liner
Liner is difficult to install into a raised pond. Keep working at it until you get it right. It can take hours to get all of the folds and creases in the right places. I wish I could be of more help here, but you are on your own because every pond is different. Patience is the only answer, but remember to treat the liner gently, or it may rip. You should also look for a pond pump, click here for a good selection.
Coping Stones
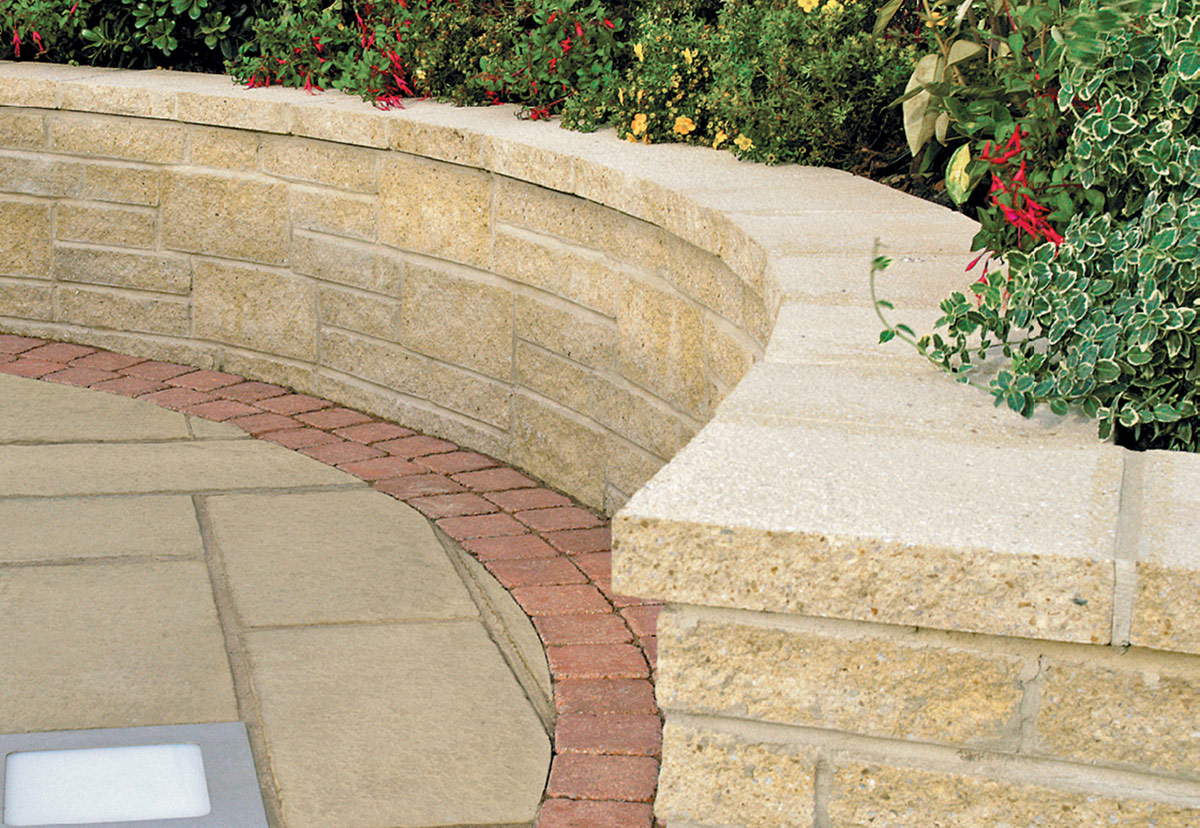
Before laying the coping stones, fill the pond with water and cut the liner so that it will lie about a third of the way over the top course of bricks. Then, using the same mortar mix, lay the stones.
The main structure is now complete, but you will need to install filtration and oxygenation equipment before expensive fishes are introduced. Some people hide the filter box under a waterfall at one end of the pond, which is a practical solution. Buy the best quality filtration equipment you can afford because it will determine the water quality.
Raised ponds are very attractive features, and it brings the fishes a little closer to you. It is a great project that will only take a few weekends to complete. I hope you enjoy yours.