Fixing up any car is a task in itself. Fixing up a car for your family is a task and a half! Working to restore your car to what it was like when it was brand new after your family have got hold of it is like trying to get Pompeii back to what it was prior to any volcano-related damage (okay, it’s not that bad, but you get the picture). When it comes to fixing up your car, there are many routes to go down, do you need it clean? Do you need it ready for a service? Whatever the peril, there is a way to fix it. Let’s get down to the nitty-gritty and make it a comfortable car, and more importantly, a safe car.
Step One: Prep The Vehicle
Fixing the interior is something that doesn’t need to be a hefty task in itself, you could complete it in a weekend if you planned ahead. Before you get to work on it, as long as you make sure that you vacuum and shampoo your vehicle beforehand and allow it to dry, it will save you some time.
Getting the right materials ready to prepare the makes a world of difference. Picking the right reconditioning product will make life a bit easier to make the vinyl, carpet, velour and plastic look like new. You can get color charts for your chosen reconditioner brand so you can get one that is as close to your interior color as possible.
Step Two: Cleaning The Interior

Vinyl And Plastic: Apply the reconditioning soap to the surfaces and scrub using a scruff pad. With recessed areas and places with more texture, be sure to put more effort into these parts. After applying the soap, wipe the surfaces with a cloth that is clean and dampened slightly, and allow it to dry.
If you get the right plastic adhesion promoter to go with the plastic, it will help the color coating integrate into the plastic better.
Carpet And Velour: Spray the plastic and leather prep on the carpet or velour and scrub very lightly with a nylon brush. Once it has dried, vacuum it.
As the spray has a strong solvent smell, it is best to move the car to a shaded area outside to let it dry naturally with all the windows rolled down.
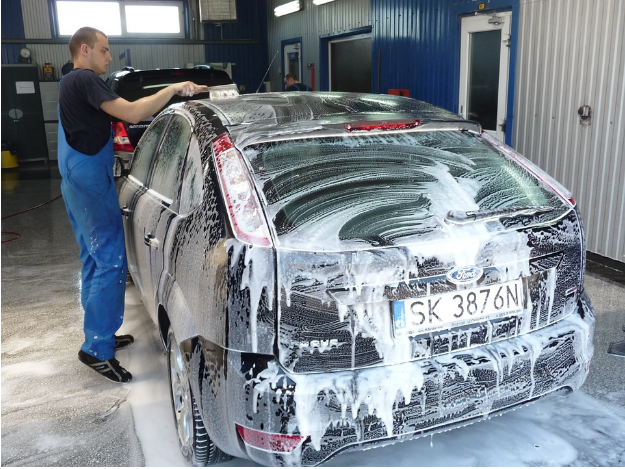
Step Three: Cleaning The Exterior
https://www.pexels.com/photo/bokeh-hd-wallpaper-54278/
Scratches: The outside of the car will always be prone to an errant key scratch or a dent here and there. The most minor of scratches can be cleared with a number of DIY scratch removers.
Cloudy Headlights: If you have seen that your headlights are looking milkier in color than usual, this is due to an oxidization of the protective covering, and can be a safety issue. You can acquire high performance parts for a good price on this, or you can find a product to clear up the headlights.
Dents: There are a couple of tricks to fix a dent. You can pull the dent out with a plunger! Or if that doesn’t work, using a hair dryer and air duster in a combination of hot and cold can expand and contract the metal enough so it can pop out.